
May 31st, 1916 saw the Battle of Jutland, the greatest clash of battleships in history and the only time the British and German main fleets fought each other. As befits such an interesting and pivotal battle, I've written a long series on it, but for the benefit of those who don't want to wade through all seven parts, I thought it appropriate to write a single-part summary.
In the runup to WWI, the British and the Germans had built huge fleets of battleships, spurred on by the Kaiser's love of shiny toys and the British understanding that the loss of maritime supremacy would be catastrophic. In 1914, the British, who had outbuilt their rivals, instituted a blockade of Germany, plugging up the exits to the North Sea with the Scotland-based Grand Fleet. The Germans, hoping to wear the larger fleet down, attempted to use raids to draw out detached elements and crush them with the High Seas Fleet. By mid-1916, the only result had been a few indecisive battlecruiser engagements, and both sides wanted action.
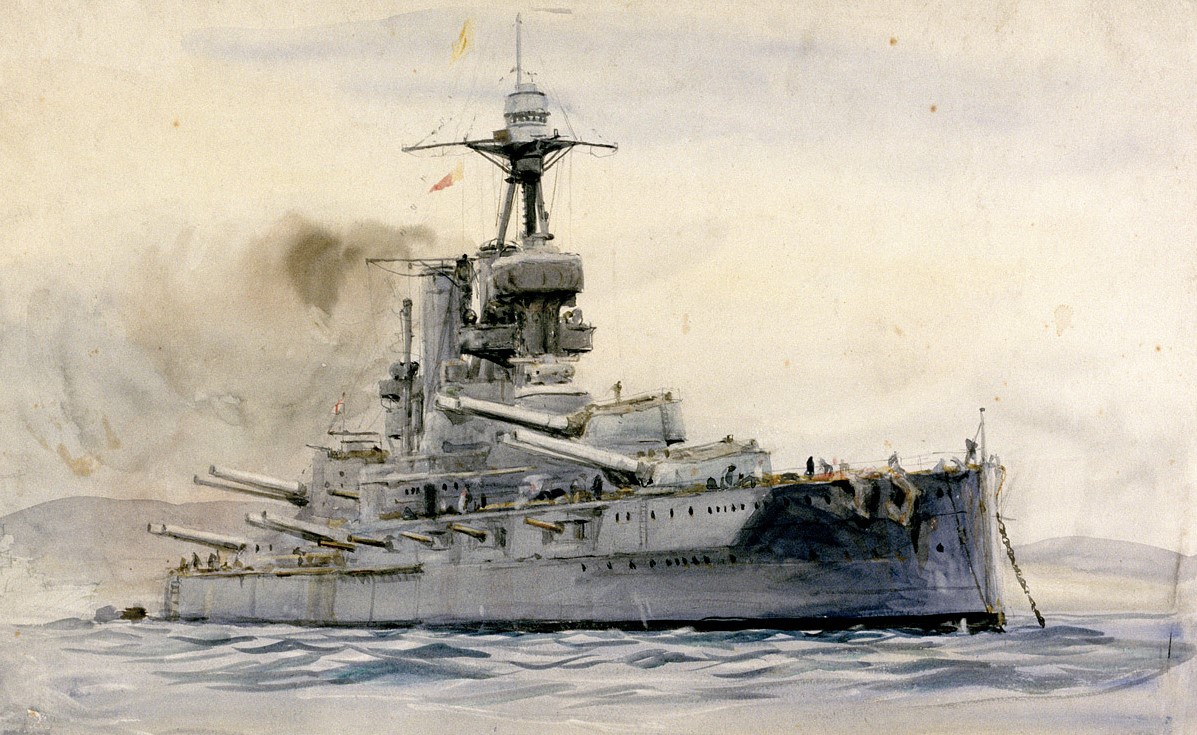
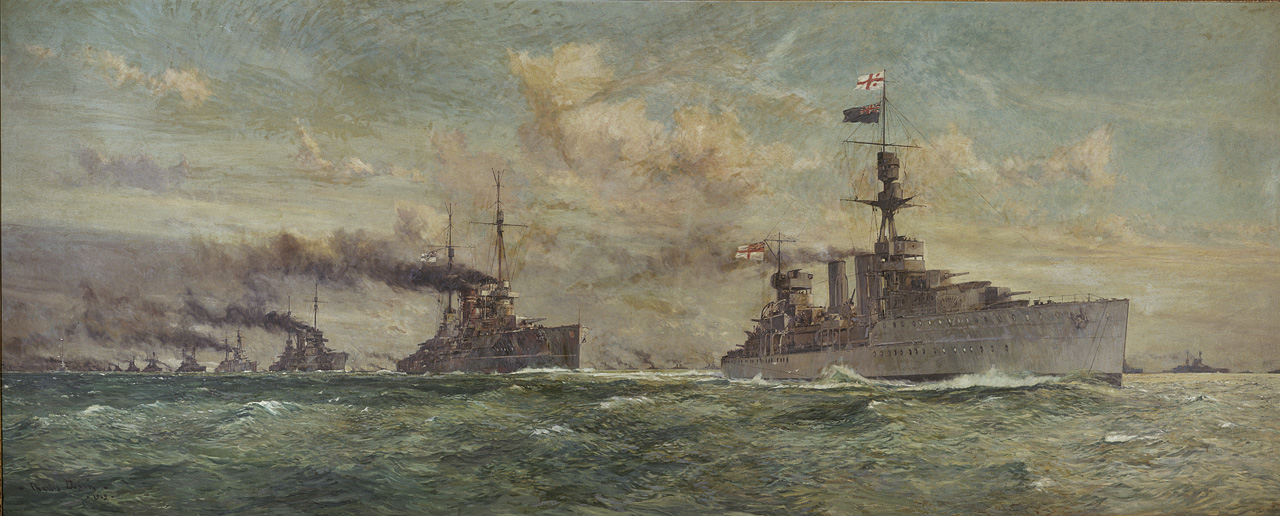
On the eve of the battle, the Grand Fleet, led by John Jellicoe, boasted 28 dreadnought battleships, supplemented by 9 battlecruisers under David Beatty. To face them, Reinhard Scheer, commander of the High Seas Fleet, had only 16 dreadnoughts, 6 pre-dreadnoughts, and 5 battlecruisers. Scheer planned another raid on the north English coast, again attempting to draw out the British and defeat part of the Grand Fleet in detail. However, contrary winds grounded his reconnaissance zeppelins, so he changed his plan to a sweep in the eastern part of the North Sea. The British intercepted his communications and dispatched Jellicoe to run him down, although a miscommunication left Jellicoe with the impression that the Germans were actually still in port.
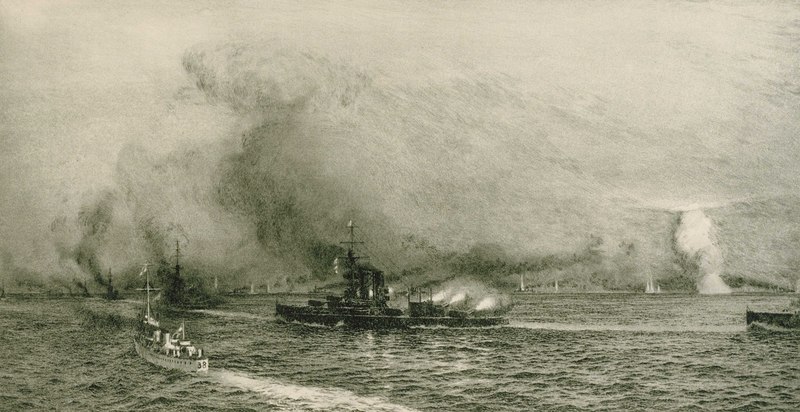
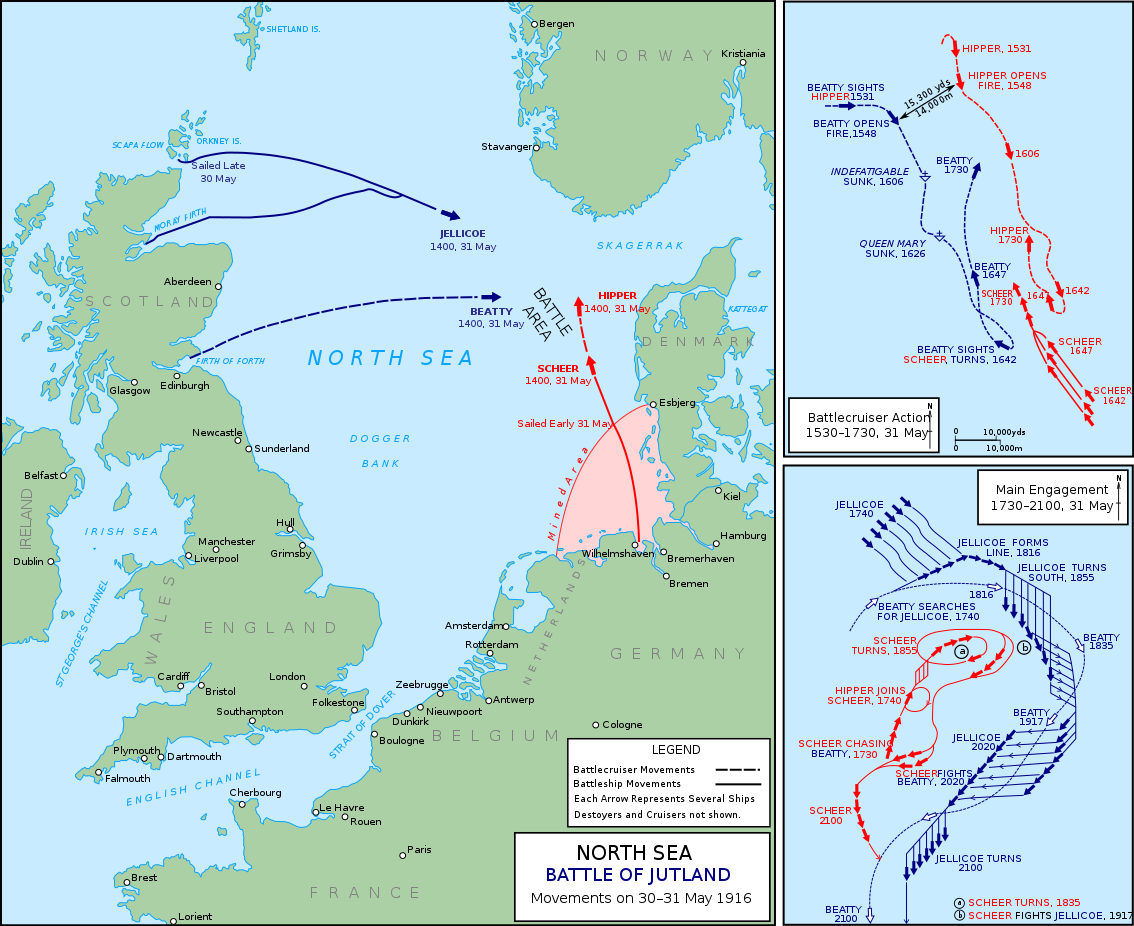
On the early afternoon of May 31st, a pair of British cruisers encountered a group of German destroyers and opened fire, quickly drawing both sides' battlecruisers in. Admiral Franz von Hipper, in charge of the German scouting force, turned south, hoping to draw Beatty into the main body of the High Seas Fleet. Beatty's six battlecruisers1 followed, and both sides quickly opened fire. The Germans gained the upper hand, pummeling the British vessels and sending two of them to the bottom after turret hits set off their cordite propellant. Twenty minutes into the action, Beatty's supporting battleships finally caught up and joined the battle, landing several damaging hits on the Germans.
Forty-five minutes after the Run to the South began, a British cruiser sighted the main body of the High Seas Fleet, heading north to intercept. Beatty quickly turned to fall back on the support of the Grand Fleet, although another signalling failure saw his supporting battleships keep heading south for another 15 minutes, finally turning under heavy fire from the leading German battleships. The battle continued as the British ran north, although this time, they were giving as good as they got, and the spectacular pyrotechnics that characterized the Run to the South were mercifully absent.
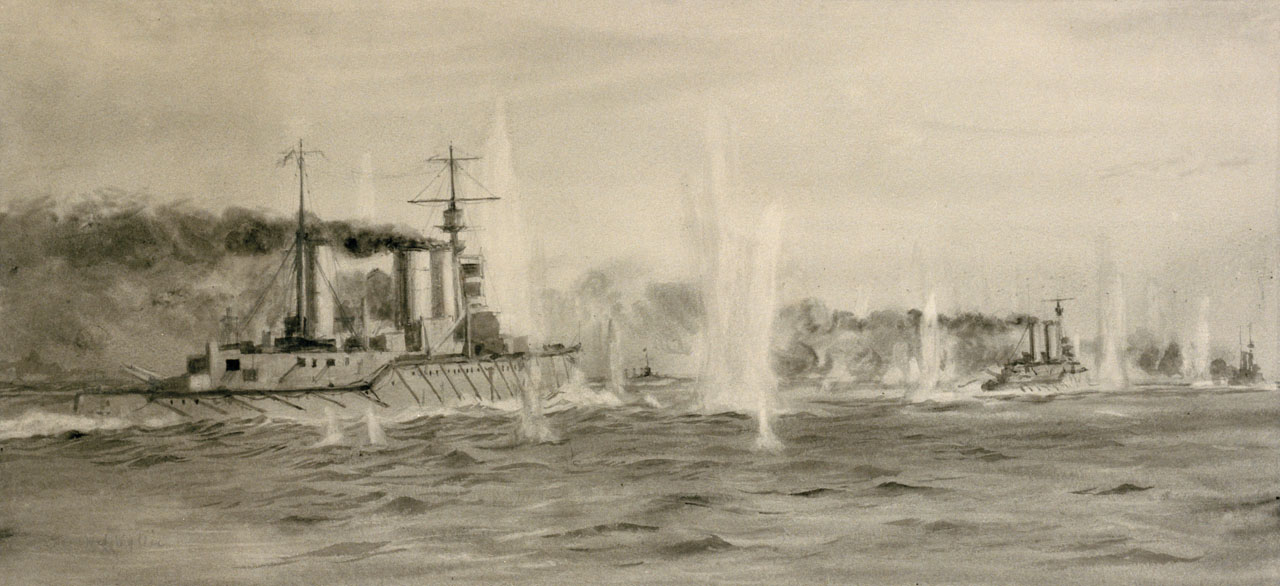
Through all of this, Jellicoe was getting only the most fragmentary information from Beatty about the location and strength of the High Seas Fleet. The poor visibility common in the North Sea exacerbated this problem, and by the time Beatty came into sight, he had lost contact with the Germans. Finally, though, Jellicoe decided to deploy his fleet from columns into a single line with a turn to port, a decision that perfectly crossed Scheer's T.2 Any mistakes at this point could have been fatal, but Jellicoe made exactly the right choice despite limited information.
It should have been a masterstroke that lead to the defeat of the High Seas Fleet, particularly given how effectively Jellicoe's gunners pounded the German ships. Instead, Scheer ordered the entire fleet to reverse course immediately, a risky maneuver, but one that worked, leaving the Grand Fleet facing an empty patch of water as their enemies retreated into the mist.
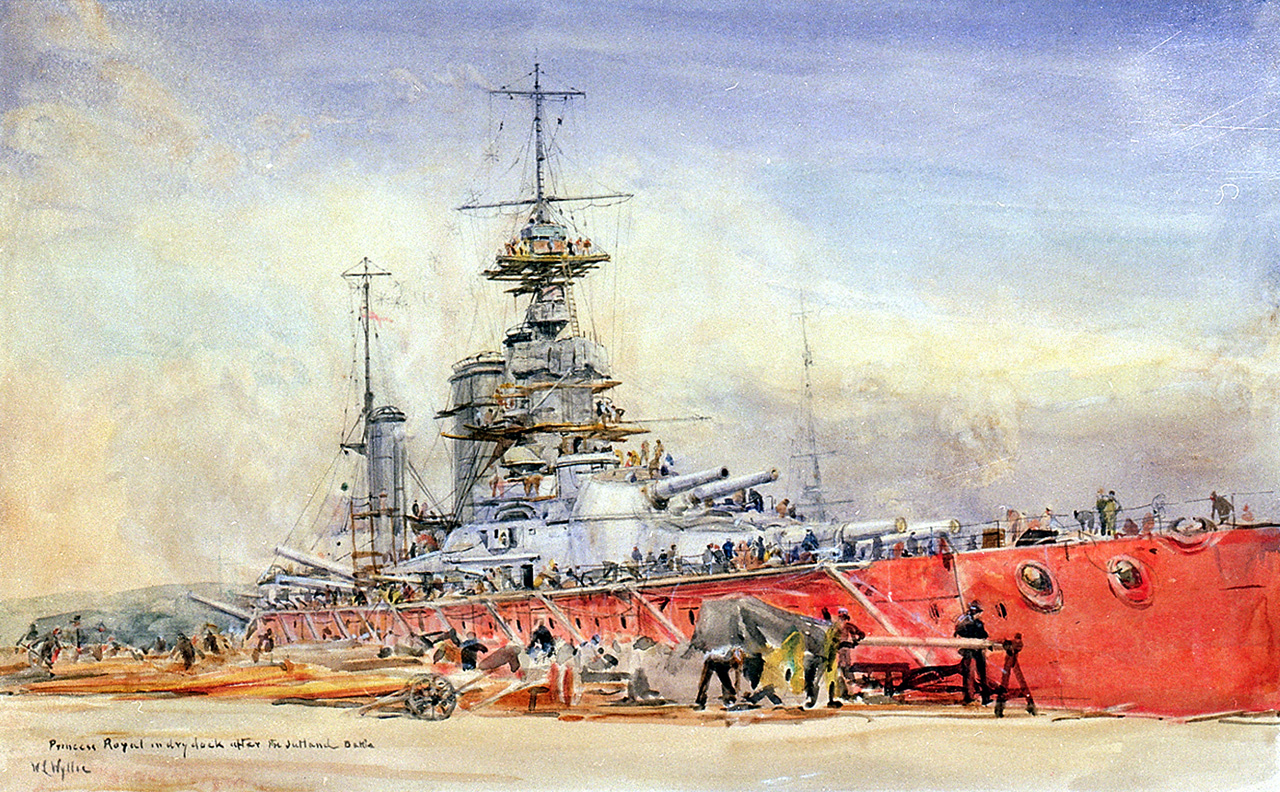
Nor was the encounter a victory for the British when considered in terms of tonnage lost. A battlecruiser and two armored cruisers had been sunk by the German fleet during the first clash, victims of poor tactics and the same magazine practices that had already cost so many lives.
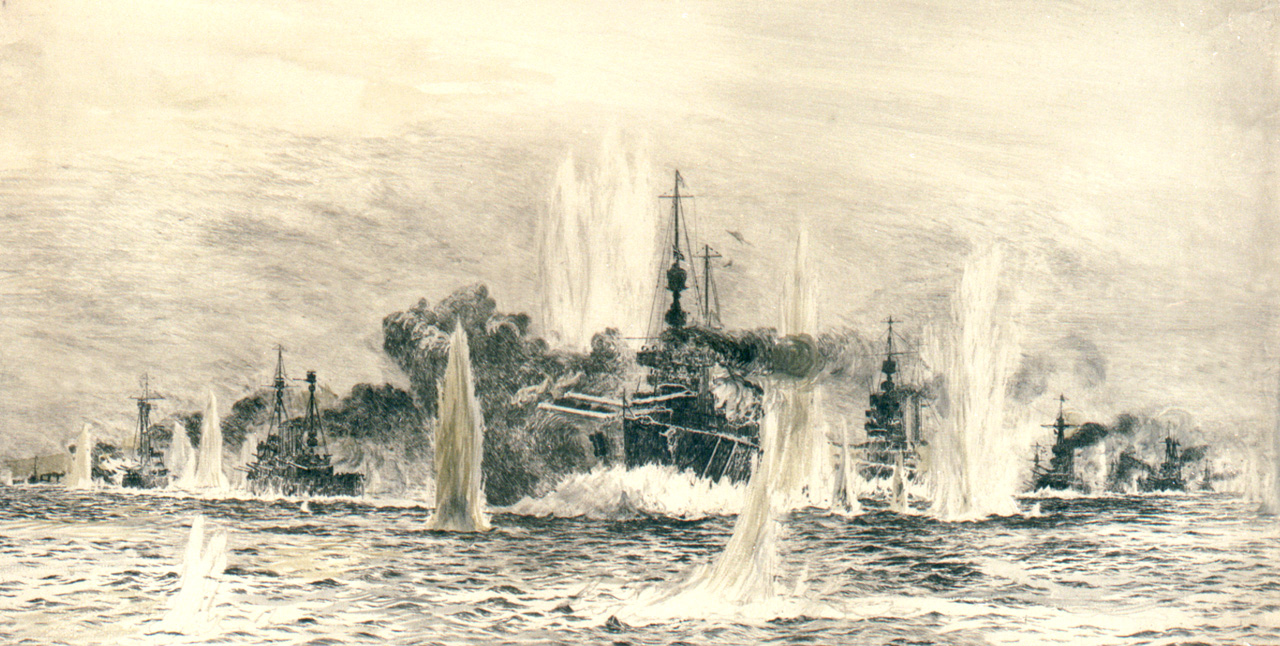
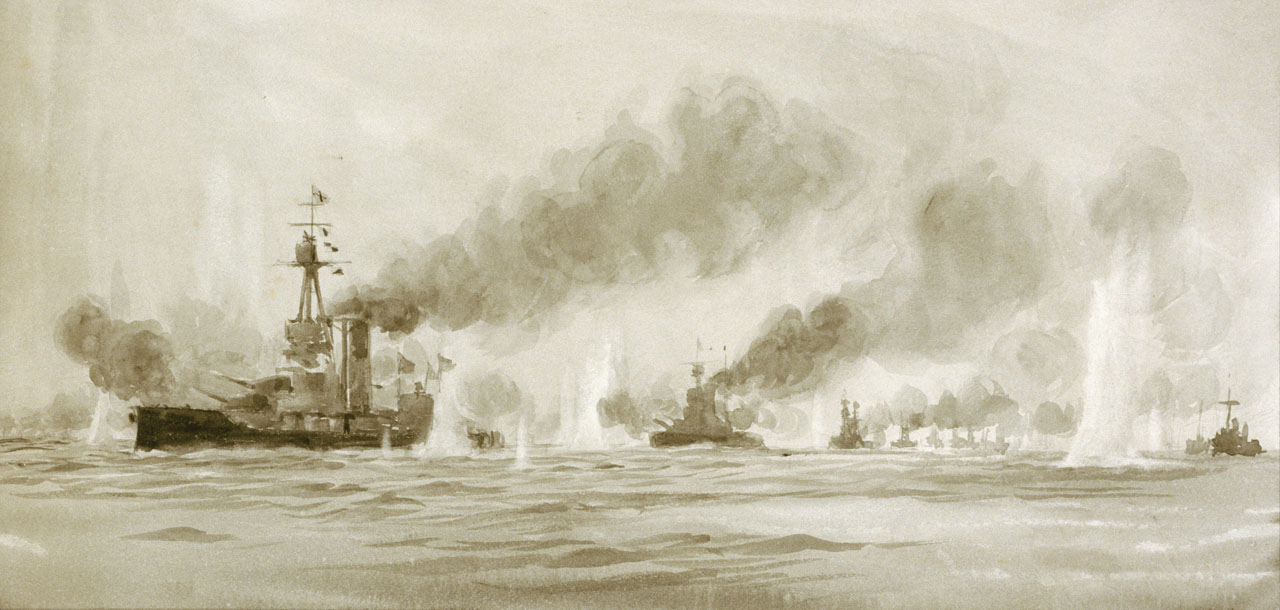
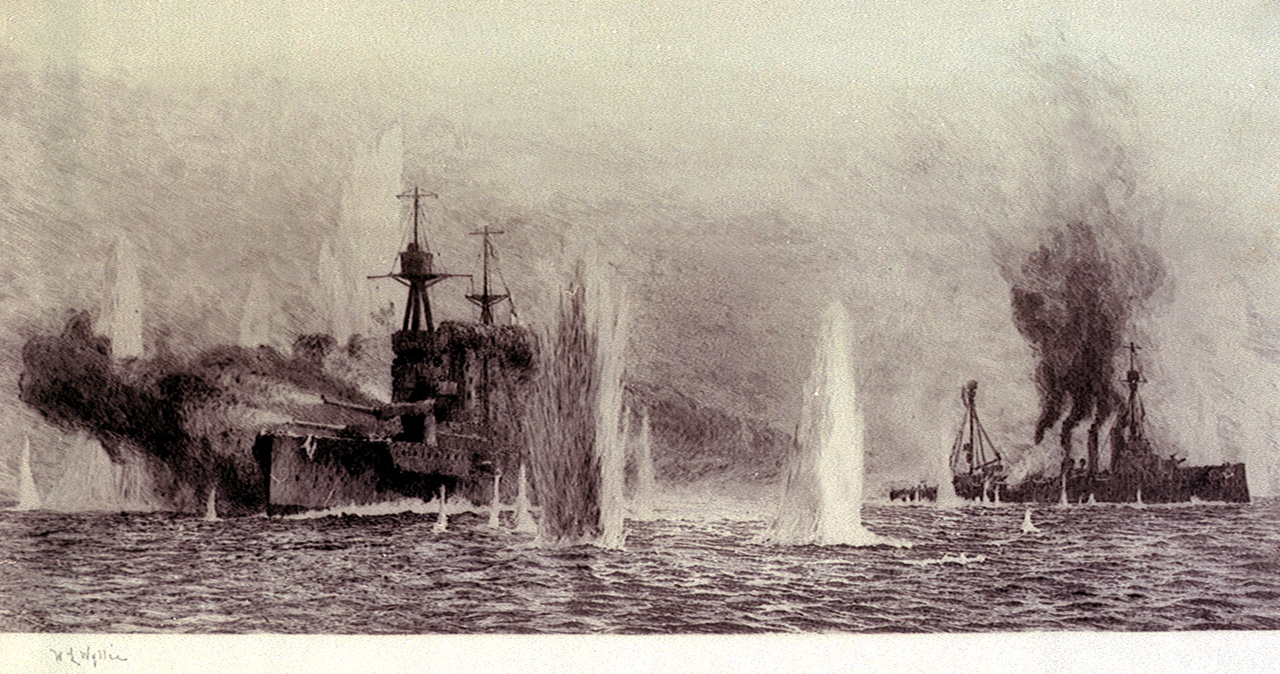
At this point, Jellicoe had Scheer well and truly trapped. Minefields laid by both sides left Scheer only two routes back to his base, and Jellicoe was in a position to block either of them. After a few minutes, Scheer turned east again, but Jellicoe was waiting, and the High Seas Fleet began to buckle under the heaviest concentration of naval gunfire the world has ever seen. To cover the turns of his battleships, Scheer dispatched Hipper's battlecruisers on what became known as the 'death ride', despite none of the battlecruisers actually dying. They closed to within 4 miles of their opponents before they too turned for home, covered by the torpedoes of their escorting destroyers. The incoming torpedoes caused Jellicoe to turn away from the Germans, hoping to outrun the torpedoes or at the very least make his ships smaller targets.

This was by far the most controversial moment of the battle. Afterwards, many saw it as a priceless opportunity thrown away, although more sober historians pointed out that an intact battle fleet was the guarantee of sea power, and that Jellicoe was, in the words of Winston Churchill, "the only man on either side who could have lost the war in an afternoon." The benefits of a victory were certainly not enough to make the risk worth it. The fleets clashed once more before nightfall, as Beatty's battlecruisers found Hipper's ships and pounded them again before darkness brought an end to the main action.
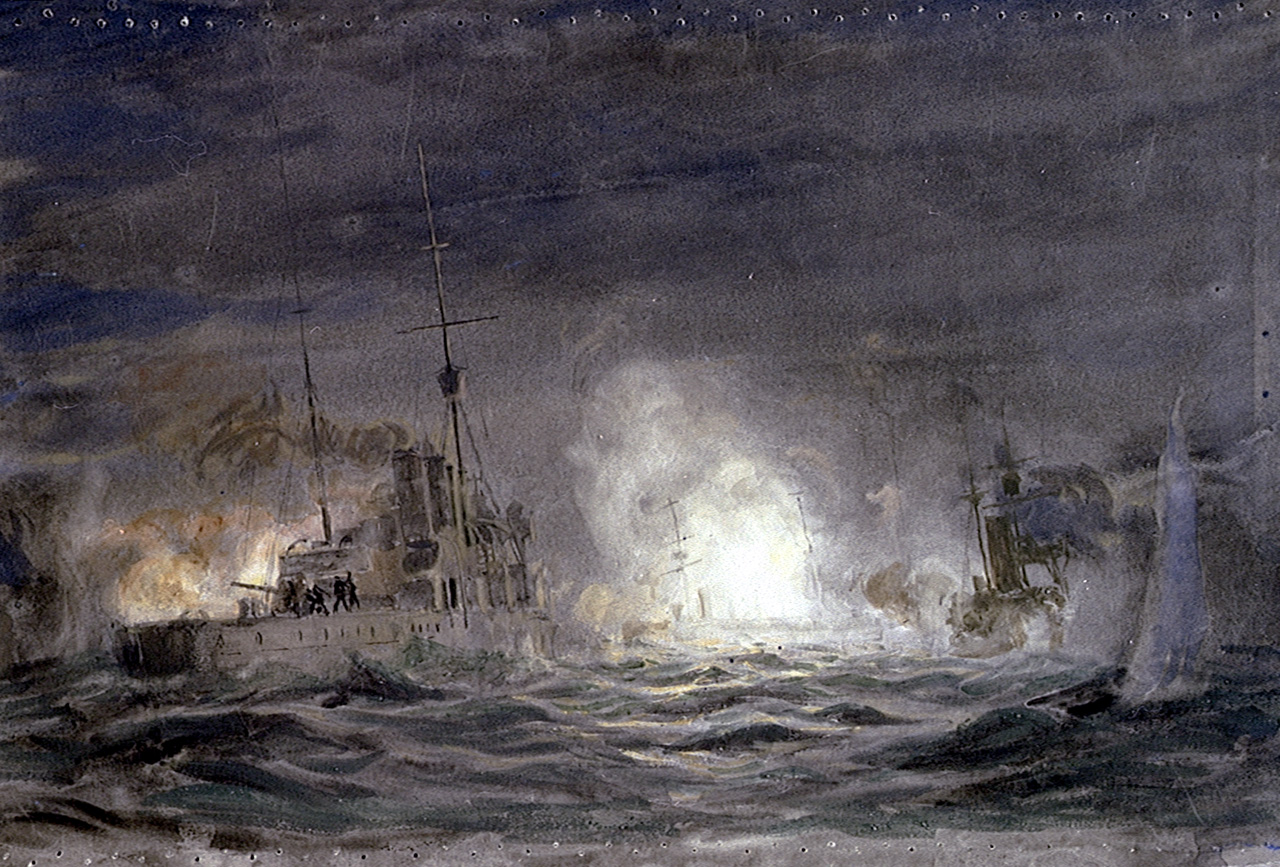
Unfortunately, nightfall saw the British plan fall apart. Jellicoe steered south, assuming Scheer was attempting to return directly to his base, while the High Seas Fleet instead made for the alternate entrance at Horns Reef. This would involve passing directly through the Grand Fleet, a very risky plan but one that they managed to pull off. The British battleships refused to open fire even when the Germans were clearly visible, and the overall lack of initiative and communications on their part is rather staggering. There were a number of clashes between light ships, which actually saw a British destroyer collide with a German battleship, but when dawn broke, the Germans had gotten away.
The result of the battle was immediately controversial. The British had lost 11 ships totaling 113,300 tons and about 6,100 men with them, while the Germans had also lost 11 ships, but with a total tonnage loss of only 62,300 tons and 2,500 men killed.3 To make matters worse, the British government badly bungled the public response, giving the initial impression of a defeat, and the Somme pushed the matter off the front pages just as a more nuanced view was coming out.
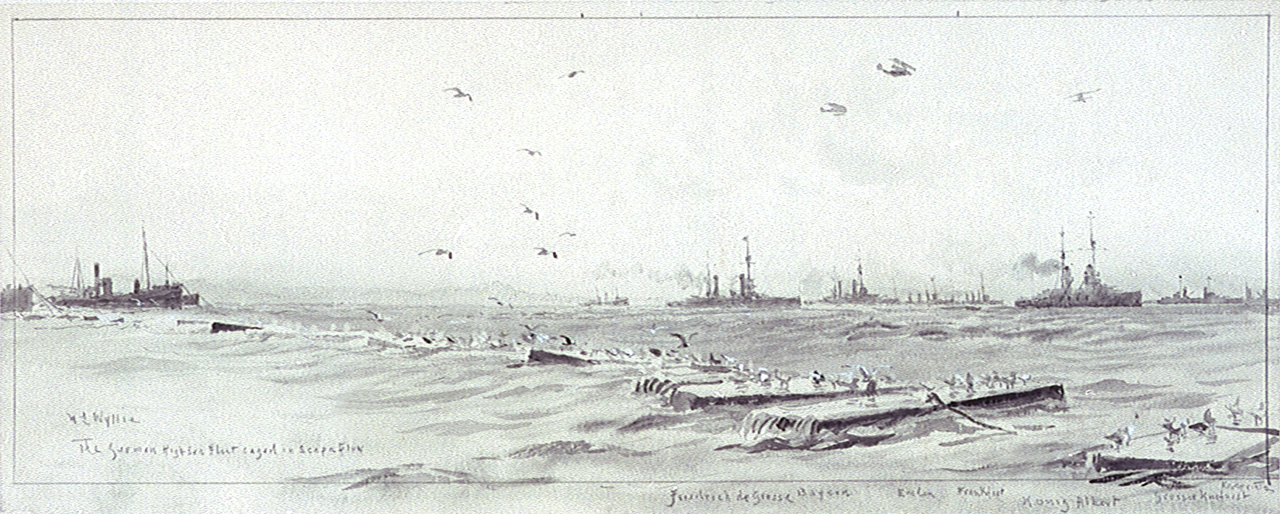
The High Seas Fleet rarely sortied after Jutland, and ultimately contributed to the collapse of Imperial Germany when an order to sail on a suicide mission caused the men to mutiny, a revolt which ultimately spread across Germany and forced the Kaiser to abdicate. Instead of dying under a hail of British shells, the High Seas Fleet was instead interned by the British on November 21st, 1918. There it remained for the next seven months, until the ships were scuttled by their crews, who feared the British were about to seize the ships.
In retrospect, Jutland was clearly a British victory. Their task was to maintain the blockade, and they successfully did so despite their losses. The blockade itself materially contributed to the defeat of Germany, starving the Kaiser's war machine of raw materials and even food. Control of the seas would decide the outcome of the war on land, just as it had so often before, but only over time. A complete defeat for the High Seas Fleet would have benefited the British, but not nearly as much as serious losses to the Grand Fleet would have aided the Germans. Jellicoe commanded the Grand Fleet brilliantly on that day in the North Sea, and laid the foundations for the Allied victory.
1 The other three ships Beatty had assigned were detached on a gunnery exercise, and he had four fast battleships in distant support instead. ⇑
2 Crossing the T is the traditional goal of naval tactics, placing the fleet that does it in a position to use all of its guns while the opposing fleet can only reply with its forward weapons. ⇑
3 German losses were much lighter among their capital ships and much heavier for their cruisers and destroyers. ⇑
Comments
Probably worth noting explicitly that the "death ride" of the German battlecruisers did not result in any battlecruisers actually dying. That was the expected outcome of sending four battlecruisers into even a brief engagement with 28 dreadnought battleships, but the Germans built their battlecruisers extra-tough and it turns out the British built their shells extra-flimsy.
Ack. I thought I'd added that, but I probably got distracted by noticing that one of the destroyers did die.
Re: "a miscommunication left Jellicoe with the impression that the Germans were actually still in port" historian Sir John Keegan wrote in "Intelligence In War" (2003) that the Chief of the Naval Operations Division, Rear-Admiral Thomas Jackson (described as "exceptionally arrogant" and utterly contemptuous of the intelligence corp) had visited OB 40 and simply asked the whereabouts of "DK", the German call sign for the High Seas Fleet's flagship. Informed correctly that the call sign was in port at Wilhelmshaven, he turned on his heel and walked out. Had he deigned to elaborate on the reason for the question, he almost certainly would have been informed that the German flagship always left its call sign in port when proceeding to sea, to disguise its movements, and adopted another. Admiral Jellicoe thus was informed that the German fleet was in harbor and planned accordingly. Discovering the truth while already at sea from Admiral Beatty, he was thus late meeting the enemy battleships off Jutland, late fighting the battle and late cutting off their retreat. "Admiral Jackson's disinclination to take the codebreakers into his confidence robbed the Grand Fleet of a major opportunity to scupper the German navy for good."
This is a summary article; if you want details like that, see the longer series.
why?
They didn't open fire due to a combination of fear of revealing their own positions, combined with delays in positively identifying the ships as German.
For the latter, "Clearly visible" here means "Yup, that's a big ship right there", not "We're 100% sure that's a German battleship, not a British ship that's not where we expect it to be".
For the former, positively identifying a ship at night prior to open fire involves either challenging it with signal lamps or illuminating it with a spotlight so you can see it clearly in detail. Either way, you're going to be showing it (and any other German ships in the area that you haven't spotted yet exactly where you are. The spotlights in particular are problematic, since they're bright enough that they can be used for signaling over the horizon by using them to illuminate low clouds. And when you actually do open fire, big guns have very bright muzzle flashes and very loud reports.
To add to what Eric says, they were under strict orders not to fire without permission for fear of sparking a friendly-fire incident, and nobody was willing to disobey said orders even when it was obvious that it was a German ship they were looking at (as it was several times). Dealing with a really big fleet means that initiative can be dangerous, and they probably erred too far on the side of restraining it.