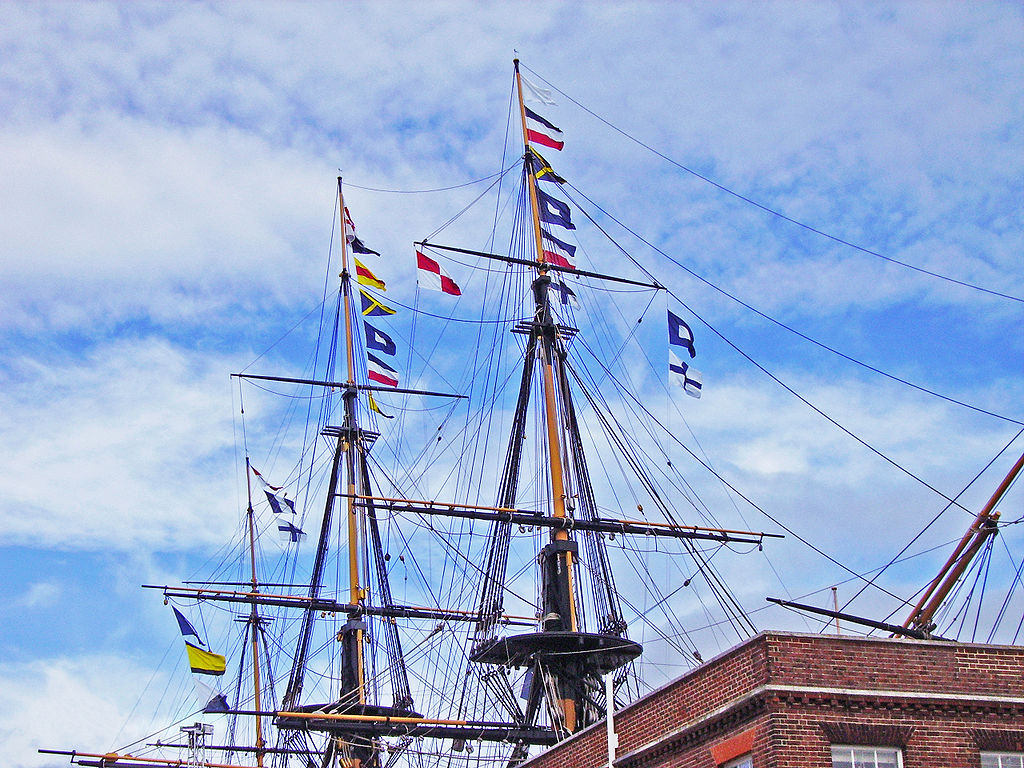
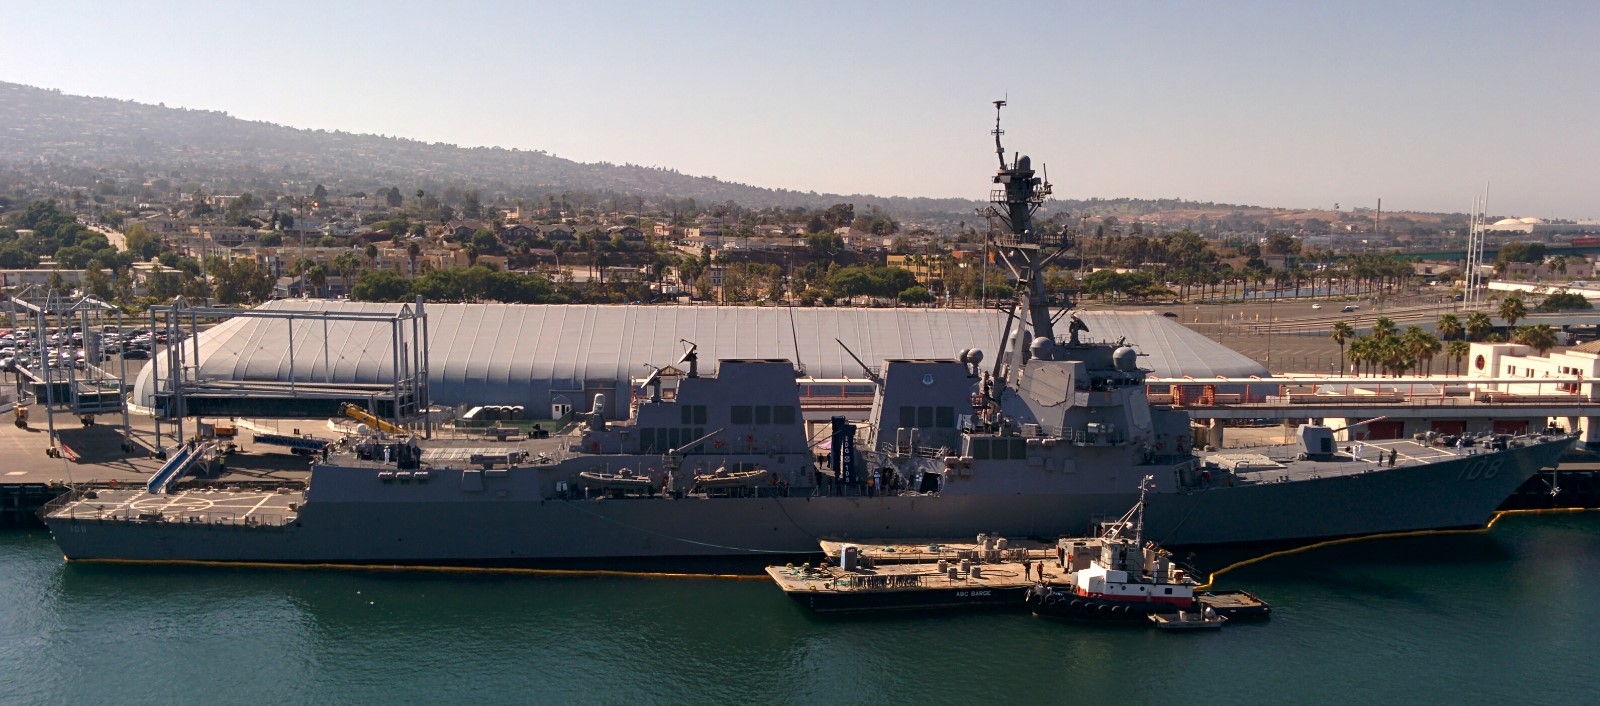
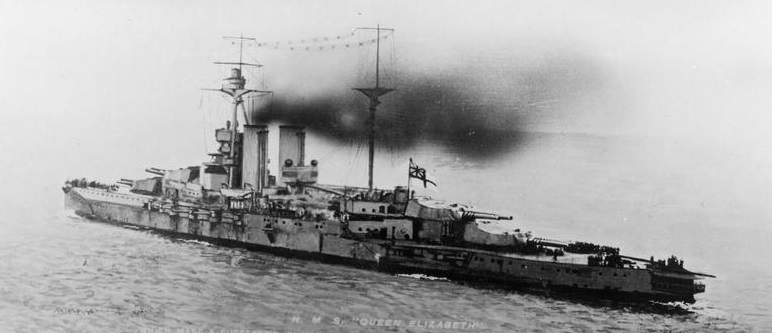
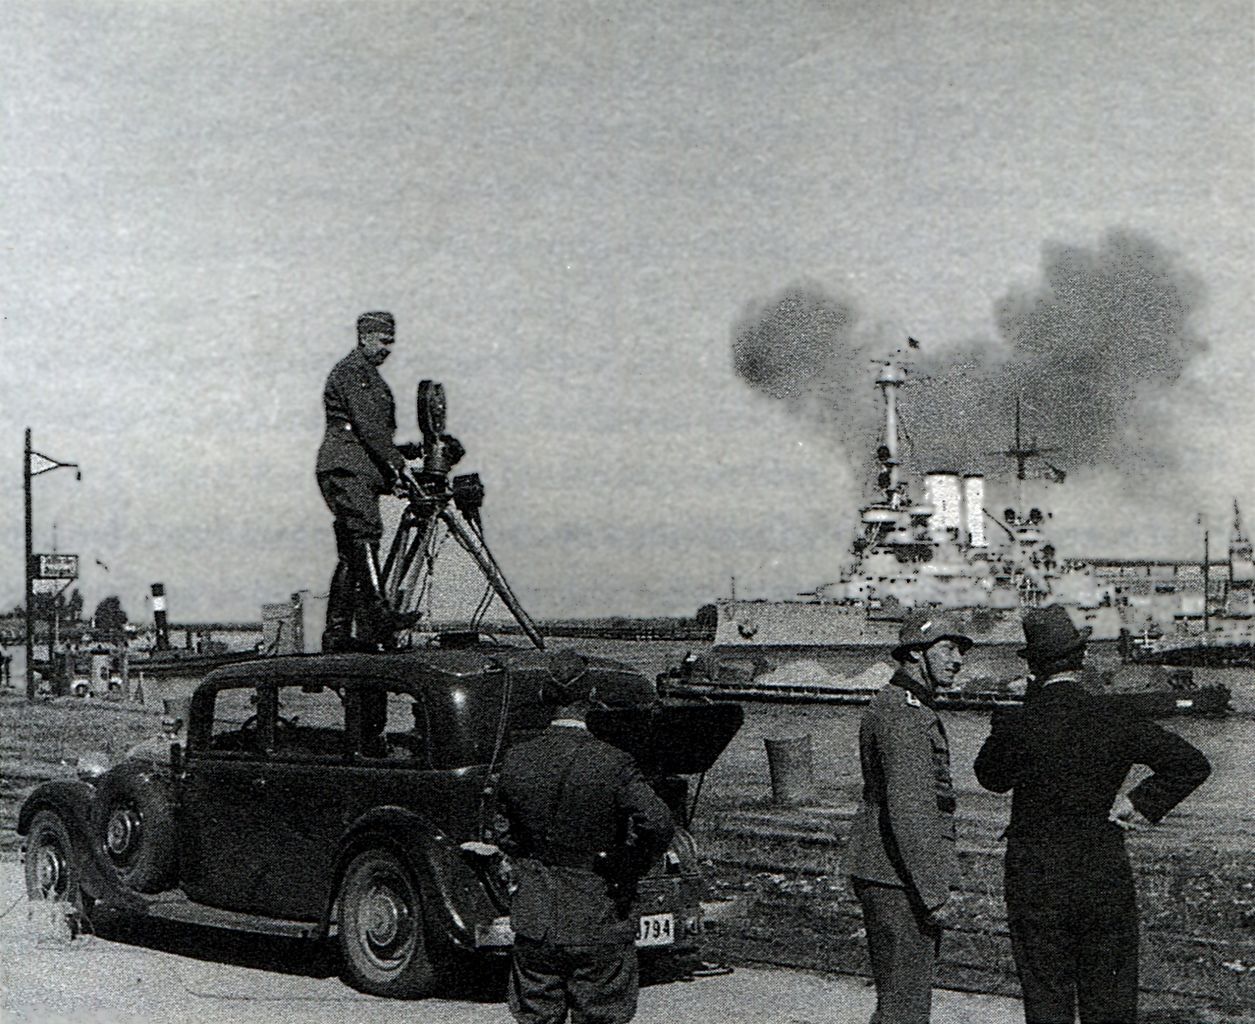
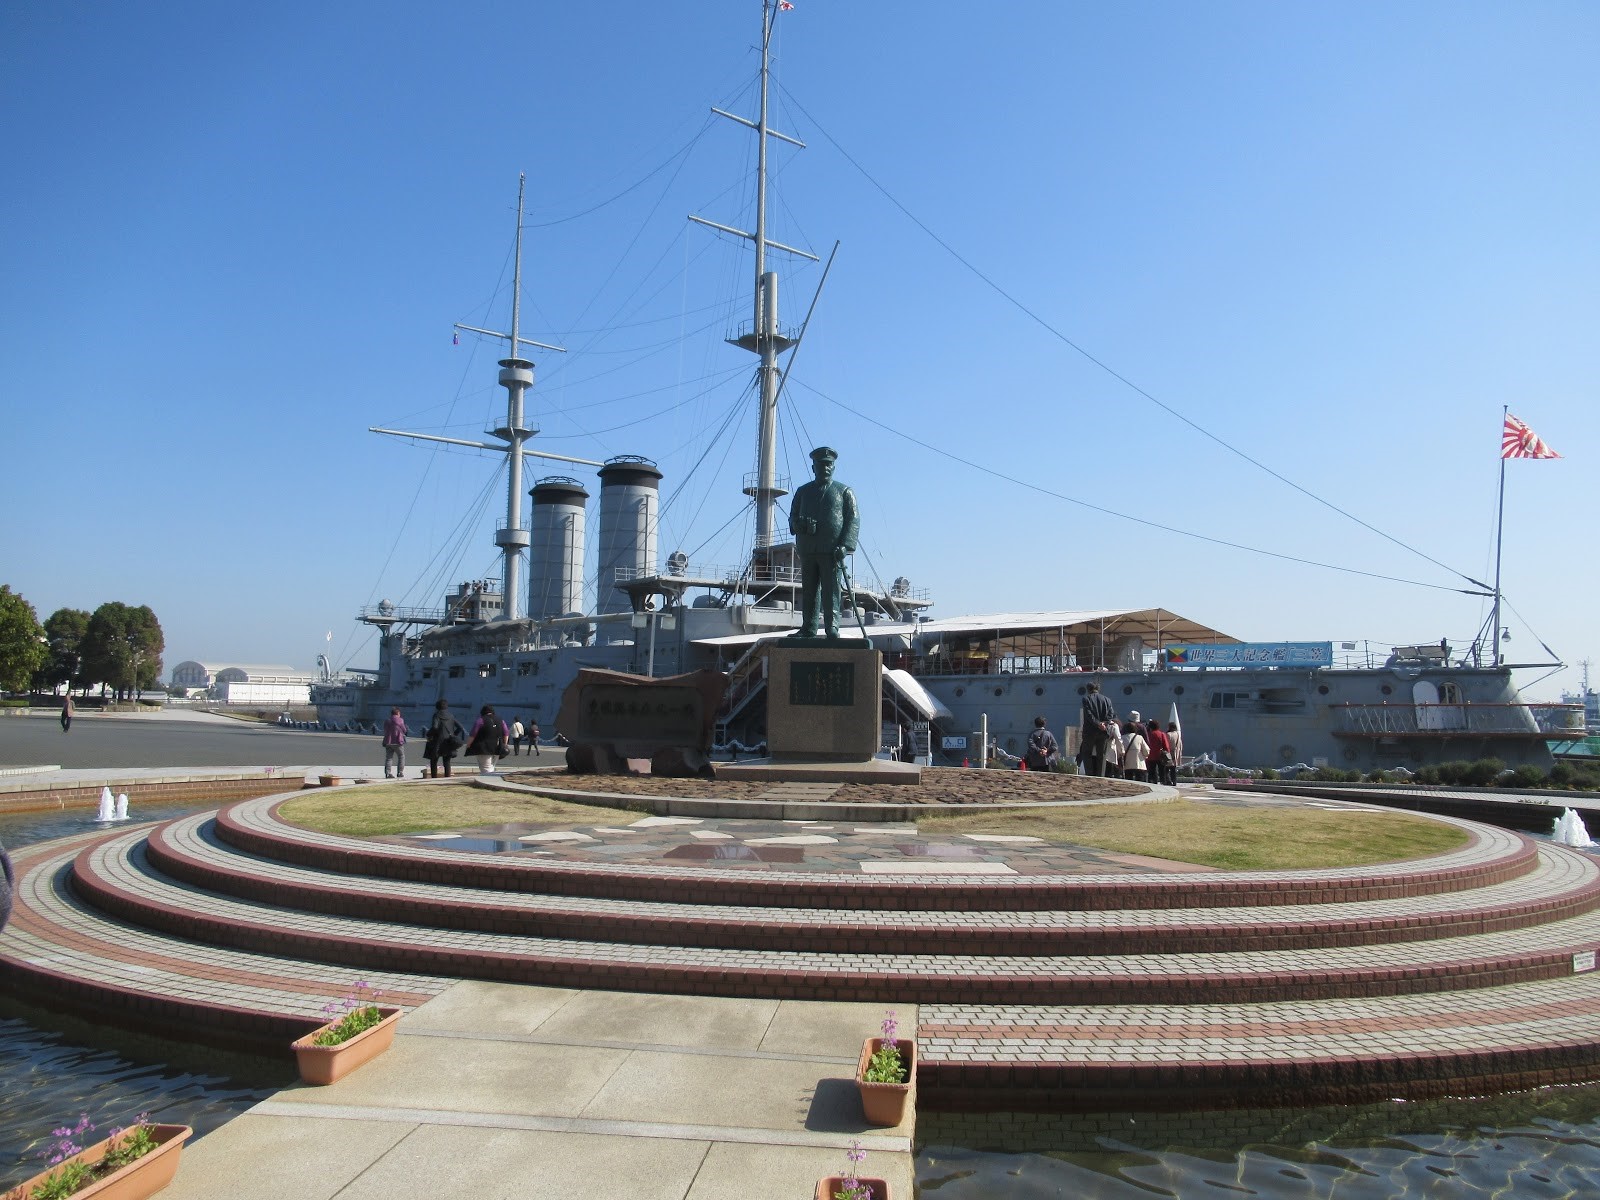
June 01, 2018

Jutland Part 6 - Aftermath and Analysis

In May of 1916, the British and German Fleets clashed in the North Sea. The initial battlecruiser encounter saw three British ships lost to magazine explosions. The battlecruisers, under David Beatty, lead the Germans straight into the teeth of the Grand Fleet under John Jellicoe. The British drove the Germans off, then repeated the performance when the Germans came back. Darkness fell, and Jellicoe had maneuvered his fleet between the Germans and safety, but the Germans broke through the British fleet with minimal losses despite a chaotic series of night actions.

Jutland: Aftermath

As both fleets returned home, the immediate analysis of Jutland on both sides was as a German victory. The Germans had lost one battlecruiser, one pre-dreadnought, four light cruisers, and five destroyers totaling 62,300 tons and approximately 2,500 men killed. The British total was three battlecruisers, three armored cruisers, and eight destroyers, 113,300 tons and about 6,100 men. The Germans also managed to get into port first, and put out a press release while the British were still on their way home, listing British losses accurately, but neglecting to mention the loss of Lutzow. The British government badly bungled their messaging, and the resulting public perception of a defeat deeply shocked the British. The beginning of the Somme pushed it off the front page just as a more nuanced view began to come out. Read more...

May 31, 2018

Jutland Part 5 - The Night Action

The stalemate in the North Sea finally ended in May of 1916. The battle began with a clash between the two side's battlecruisers. David Beatty then lead the German High Seas Fleet into the arms of John Jellicoe's Grand Fleet. Jellicoe managed to pound the High Seas Fleet, but Scheer eventually broke contact. Unfortunately, Jellicoe was still between him and his base, and it was now night.

Jutland: The Night Action

After darkness fell, Jellicoe kept his fleet moving south, trying to cut off the direct path to Wilhelmshaven. To cover the possibility that the Germans would make for Horns Reef instead, he dispatched a minelayer to the area to join the submarines already on station. For the night, he placed his battleships in four columns alongside each other, and placed his destroyers behind his fleet to catch the Germans if they tried to cut behind him. The cruisers were spread out on the flanks and ahead. Beatty was steaming parallel to Jellicoe, ahead and to the west. He had cut ahead of the Germans, and was directly in front of them by 2230.

Read more...

May 30, 2018

Jutland Part 4 - The End of the Main Fleet Action

Tomorrow is the 102nd anniversary of the Battle of Jutland, and in honor of it I’m reposting my series on the battle written last year.

The British Grand Fleet and German High Seas Fleet had been facing off across the North Sea since the beginning of the war, but in May of 1916, they finally met in battle. The British battlecruisers under David Beatty pursued their German counterparts under Franz von Hipper south after their first encounter until they met the body of the German Fleet, commanded by Reinhard Scheer. They turned north, and lead the Germans directly into the teeth of John Jellicoe, with the British main body. Jellicoe timed his deployment to perfection, placing his line across the Germans and crossing their T. Scheer saved his force with a swift turn away.

Jutland: The end of the main fleet action

Scheer had dodged Jellicoe's trap when he turned away, but the battle wasn't over. After losing sight of Scheer, Jellicoe took his fleet south, intending to keep the Germans to the west of him, and intercept them when they tried to get home.

Read more...

May 29, 2018

Jutland Part 3 - The Run to the North and Deployment

In May of 1916, the stalemate in the North Sea between the British Grand Fleet under John Jellicoe, and the German High Seas Fleet under Reinhard Scheer came to an end. The British used German signals to learn of the fleet's sailing and sent Jellicoe out to trap him. The British battlecruisers under David Beatty first met Hipper's German battlecruisers, and chased them south until they met the main body of the High Seas Fleet, losing two of their number to magazine explosions in the process.

Jutland: The Run to the North

As the British turned north, the battle began to shift. The weather was getting worse, as it often does in the North Sea. Beatty finally signaled Jellicoe ‘Fleet action is imminent’, although he did not give details, and took five more hits from Hipper without hitting back before his ships pulled out of range. The German battle fleet divided its fire between the escaping HMS Southampton and the 5th BS, who also suffered under Hipper’s fire. Malaya, in the rear of the line, was particularly badly hit, taking a total of 7 shells from the German battleships. None were fatal, although a large cordite fire put the starboard 6” battery out of action, killed over 100 men, and came close to setting off the 6" magazines. Barham took four shells from Derfflinger and Warspite two from Seydlitz. The battle wasn't entirely one-sided, as Seydlitz was hit by a destroyer torpedo during the British turn north.

Read more...

May 28, 2018

Jutland Part 2 - Preliminaries and Run to the South

Thursday is the 102nd anniversary of the Battle of Jutland, and I'm reposting my series on the battle from last year.

Last time, we looked at the strategic situation leading up to the battle. 1916 saw the British Grand Fleet, under John Jellicoe, and the German High Seas Fleet under Reinhard Scheer, facing off across the North Sea. The British outnumbered the Germans, and had managed to cut Germany off from seaborne trade.

Jutland: Preliminaries to battle

Scheer planned the operation that led to Jutland as a trap for the British, a battlecruiser raid on the north coast of England to draw the British out past submarines stationed off their bases,1 with the main body of the High Seas Fleet waiting to pounce. Due to condenser problems and delays in repairs to the battlecruiser Seydlitz, the operation's planned start date of May 17th had to be pushed to the end of the month. The Germans had a force of zeppelins they used for reconnaissance, but high winds on May 28th prevented them from reaching their positions, and the plan was altered to a sweep into the Skagerrak, the area between Denmark and Norway. The British continued to trade with Norway, and this raid would have seriously disrupted that trade. The High Seas Fleet finally sailed shortly after midnight on May 31st.

Read more...

May 27, 2018

Jutland Part 1 - Background, Forces and Commanders

Jutland: Strategic Background

The Battle of Jutland,2 the greatest clash of dreadnoughts in history, was fought in the North Sea on May 31st and June 1st, 1916. This was the titanic clash of the British and German fleets that both sides had been waiting for since the outbreak of war.

At the beginning of the war, both sides had known that the primary use of seapower would be to interdict the enemy’s trade. The British did this by declaring a blockade, and searching any ship that tried to enter the North Sea, while the Germans initially dispatched commerce raiders against the British. These were quickly hunted down, which led to the switch to submarines.

Read more...

May 25, 2018

Learning From History - The New Maginot Line

I picked up a copy of the New Maginot Line expecting it to be bad. It's a 1986 book by journalist Jon Connell, a proponent of defense reform, the theory that there's a massive flaw in not only the existing procurement process, but also the concepts behind the weapons we buy. This is not a position I agree with, and I felt like seeing how its conclusions held up today. They did worse than I expected. Jon Connell did not understand military history or contemporary systems, and the intervening 3 decades have not been kind to his thesis. This seems like useful information when judging similar claims made today.

Read more...

May 23, 2018

The Falklands War Part 2

In April of 1982, Argentina invaded the Falkland Islands, British possessions in the South Atlantic. There was a centuries-old sovereignty dispute, and the Argentine Junta chose to invade in an attempt to distract the populace from a stagnant economy. If Argentina expected Britain to roll over and give up the Falklands without a fight, they were sorely disappointed. In a meeting on March 31st, two days before the invasion, the Defense Secretary, John Nott, suggested that it would take five months to muster a task force, by which time winter would have set in, and the operation would be impossible. The First Sea Lord, Admiral Henry Leach, disagreed. He not only convinced Prime Minister Thatcher that it was possible to recapture the islands, but also promised that he could have a task force ready to go within a week.3


HMS Hermes

This was an incredible claim. Britain had only two carriers, the WWII-vintage HMS Hermes and the new HMS Invincible.4 They had recently returned from a major exercise, and Hermes was in week two of a six-week stint in the yards, while much of Invincible's crew was on leave. One of the two British LPDs,5 HMS Intrepid, was only weeks away from decommissioning, and her crew had already been dispersed throughout the fleet. All available personnel were immediately put to work, buttoning up Hermes and loading the ships due to go south.

Read more...

May 20, 2018

Auxiliaries Part 1

Warships are the most visible part of naval power, pictures of military might. However, they are not capable of operating alone. The ability of a navy to operate worldwide and at a high tempo is ultimately dependent on auxiliary ships, which keep the fleet supplied with oil, food, and all of the other paraphernalia required to run a warship.


Iowa refueling from USS Cahaba

The modern auxiliary ship is a surprisingly recent innovation, although it has precursors going back to the age of sail. The Royal Navy, blessed with a worldwide network of bases, had little need for a seagoing support train. The USN, beginning during the Spanish-American War, found itself in a very different situation. That war revealed the inadequacy of the USN's support system, as the Asiatic Squadron found itself dependent on British coal supplies, while the blockade of the Cuban port of Santiago was hampered by the need for coal, even after Guantanamo Bay was captured for use as a base. In the aftermath of the war, the US planned for two major threats: an assault into the Caribbean by a European power (most likely Germany) and an attack by Japan on the Philippines. In both cases, the US would have to fight at great distance from its bases. The most famous result was the long ranges of US warships, but even a battleship couldn't carry enough fuel to avoid the need for a forward base.

Read more...

May 18, 2018

Millennium Challenge 2002

One issue that’s come up a couple of times in the comments to Naval Gazing is Millennium Challenge 2002. MC02 was a major exercise designed to test operational concepts that the US military was developing, using a combination of computer simulations and live exercises. But today it’s known primarily for the allegations that the OPFOR commander, Paul Van Riper, managed to sink most of the US fleet using asymmetric tactics such as small boat scouts and motorcycle couriers to keep the US from intercepting his communications, followed by a massive salvo of cruise missiles. At this point, the exercise was reset, and he was ordered to stick to a script that would guarantee a US victory. The obvious takeaway is that the USN is incompetent and vulnerable to an enemy using the same tactics.


Missile-armed Fast Attack Craft

As you’d probably expect, I’m of the opinion that the conventional narrative is deeply flawed. Unfortunately, I can’t offer a verifiable narrative to counter it, as deeper research into this has left me confused, with at least three different narratives as to what happened, and no real way to sort out the truth among them.

Read more...